
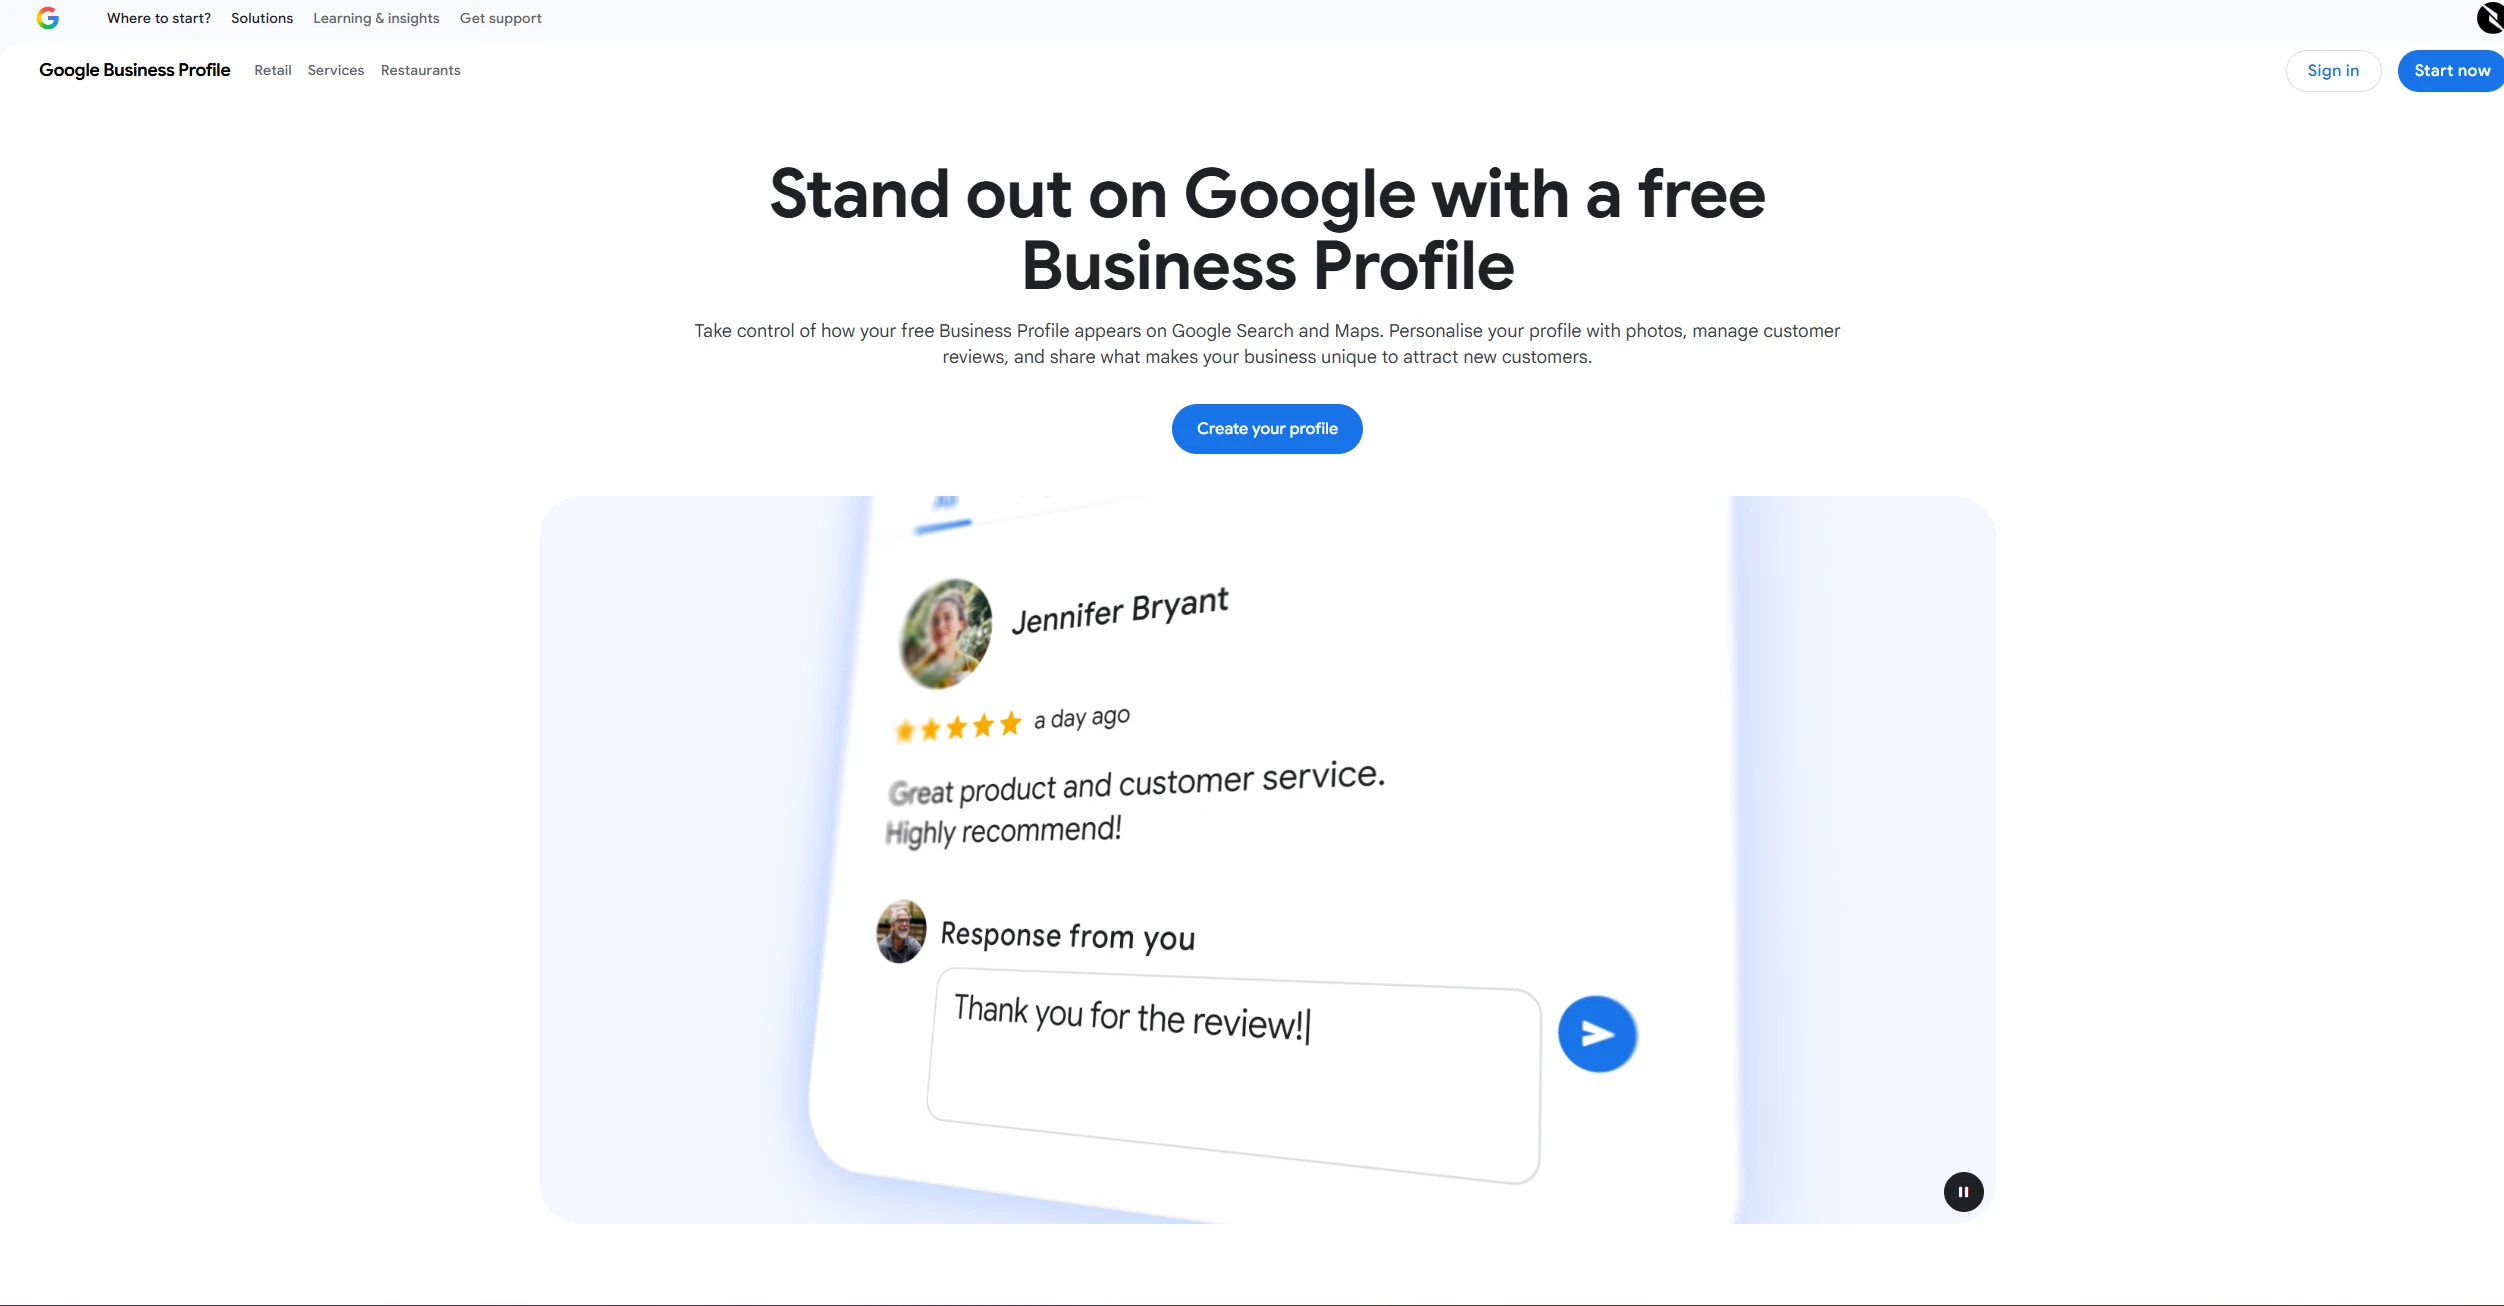
Guides | 004 : Setup Your Google Business Profile
One of the highest-ROI marketing activities for any local business
Setting up your Google Business Profile correctly is one of the highest-ROI marketing activities for any local business. With Google’s 2026 updates, a complete and regularly updated profile now plays a bigger role in local visibility and customer actions.
This step-by-step guide will walk you through claiming, verifying, and optimising your profile from start to finish.
The 15 Steps (great Radiohead track too FYI)
Step 1: Go to Google Business Profile
Visit business.google.com and sign in with a Google account you control long-term.
Step 2: Search for or add your business
Search for your business name and location. If it already exists, claim it. If it doesn’t appear, add it manually.
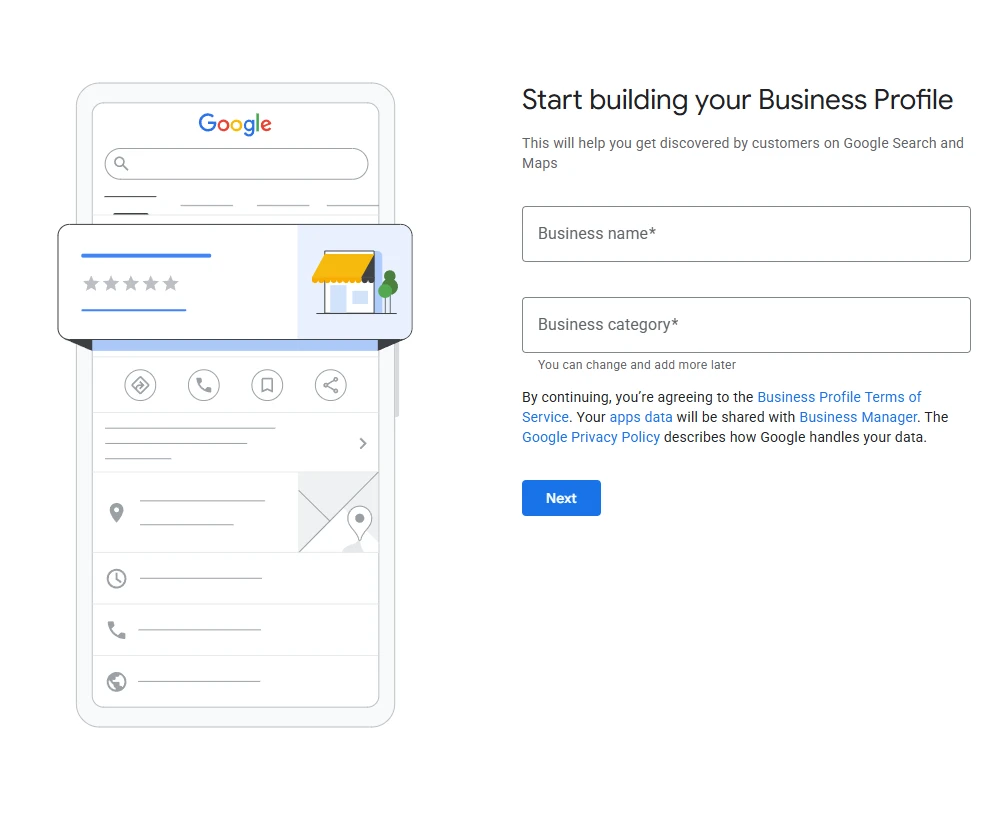
Step 3: Enter your business name and category
Type your business name and select the most suitable category from the list.
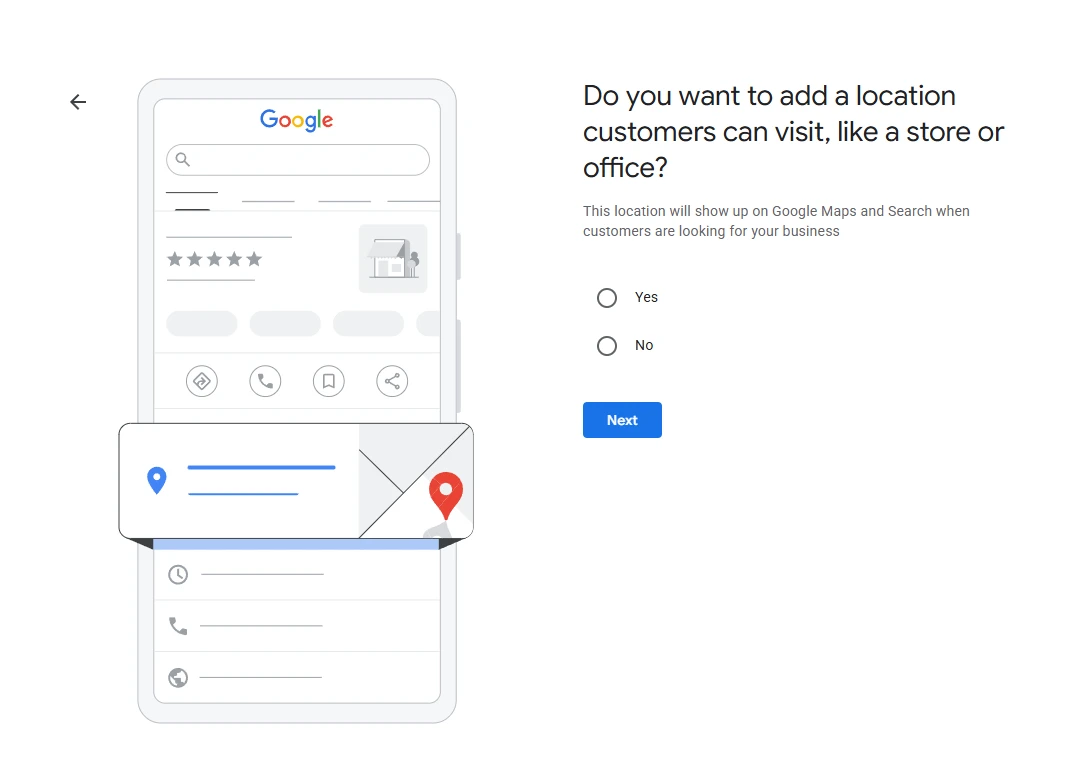
Step 4: Choose whether customers can visit a physical location
Select Yes if you have a storefront, office, or premises customers can visit. Select No if you operate as a service-area business only.
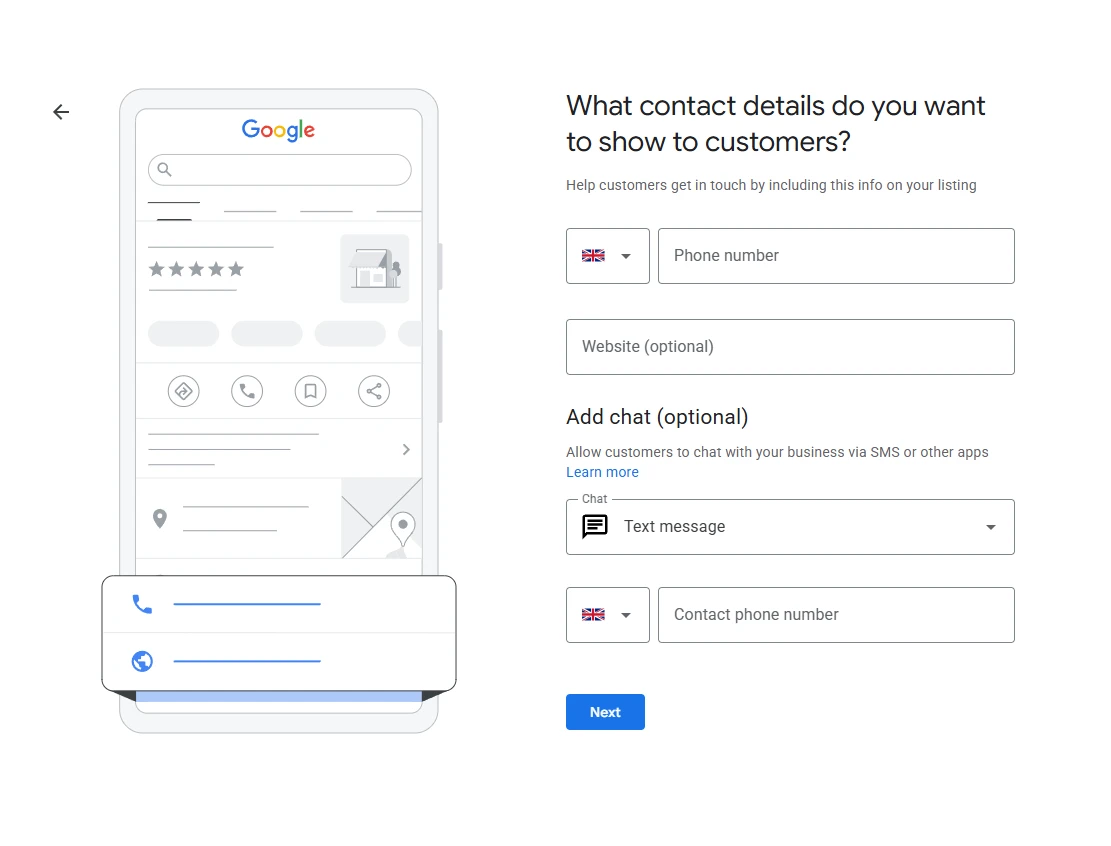
Step 5: Add your contact details
Enter your phone number, website (optional), and choose whether you want to enable chat/SMS messaging.
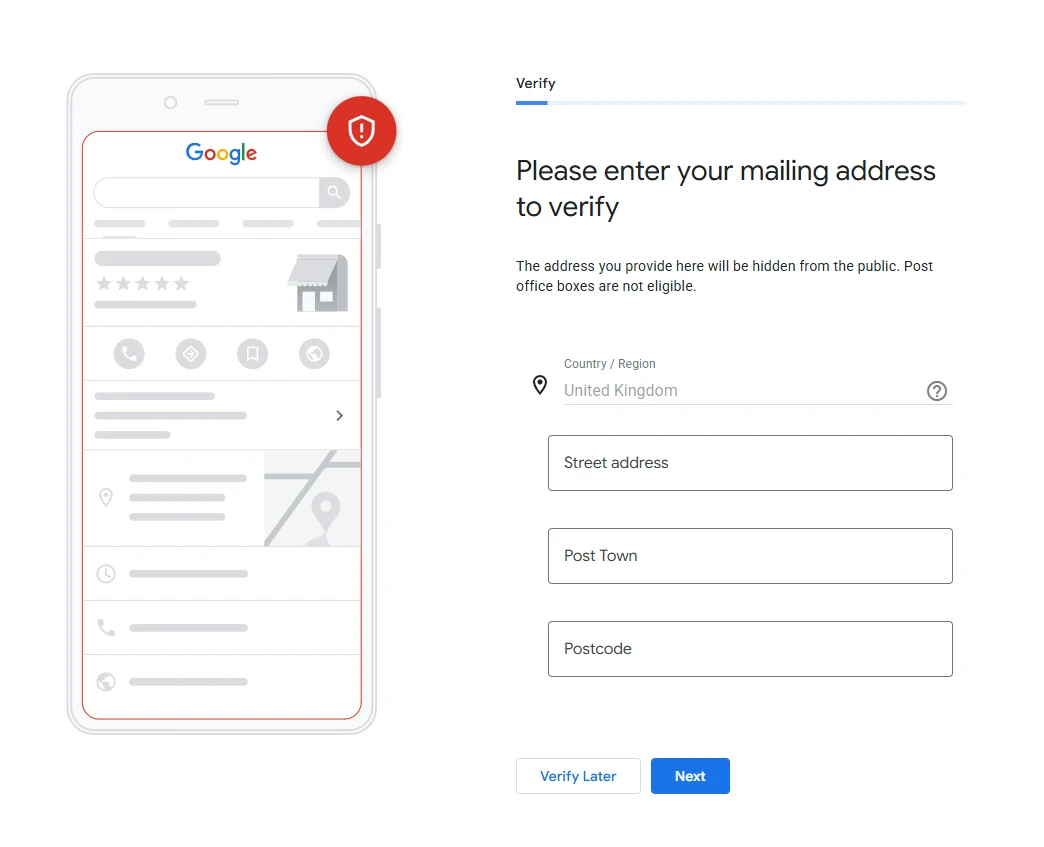
Step 6: Verify your business by mail
* SUPER CRUCIAL * Google will ask for a mailing address to send a verification postcard. Enter the address (this is hidden from the public).
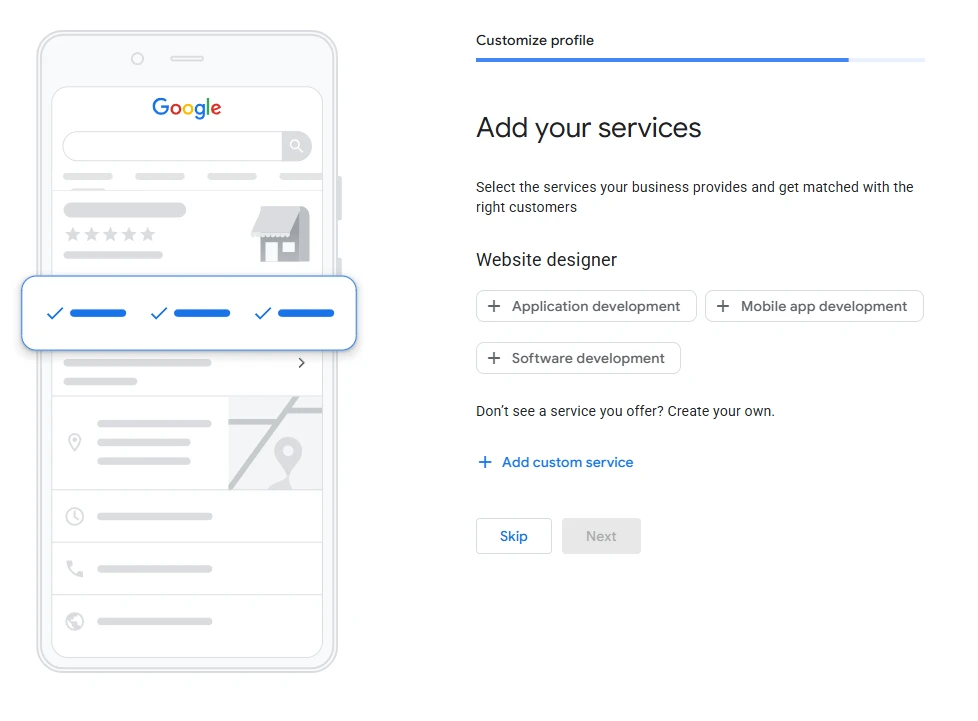
Step 7: Add your services
Select the services your business offers. You can also create custom services if needed.
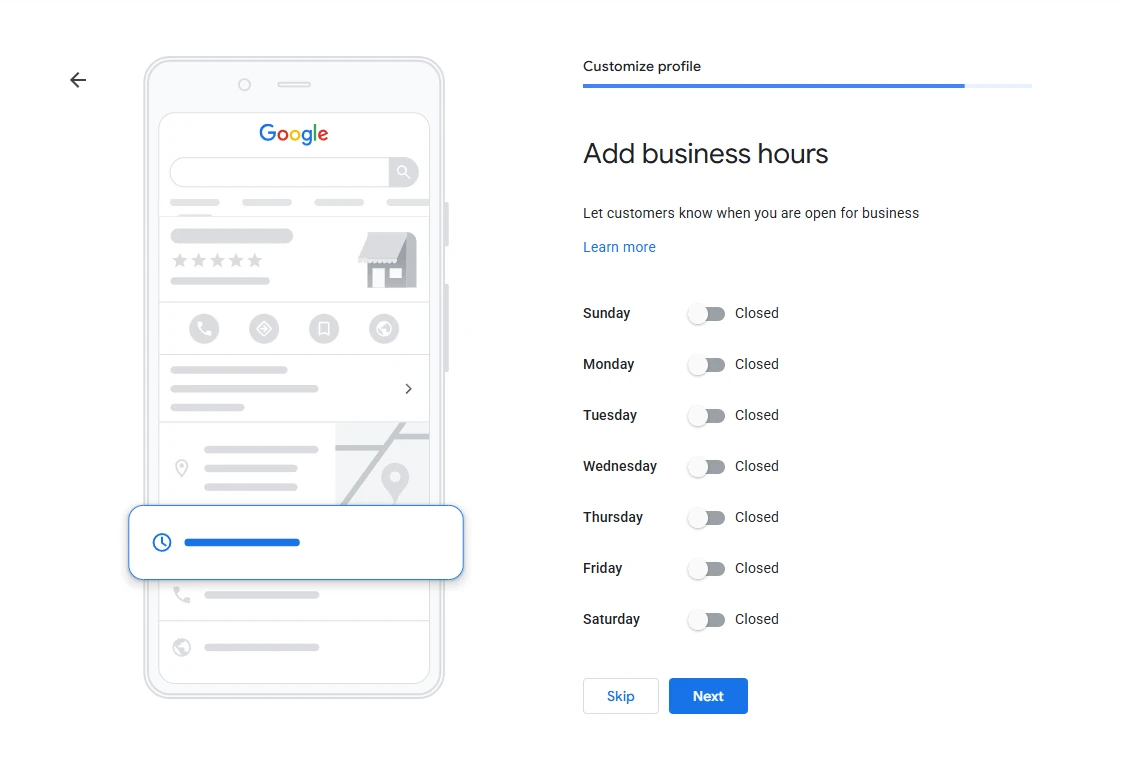
Step 8: Set your opening hours
Add your regular hours and any special or holiday hours so customers know when you’re open.
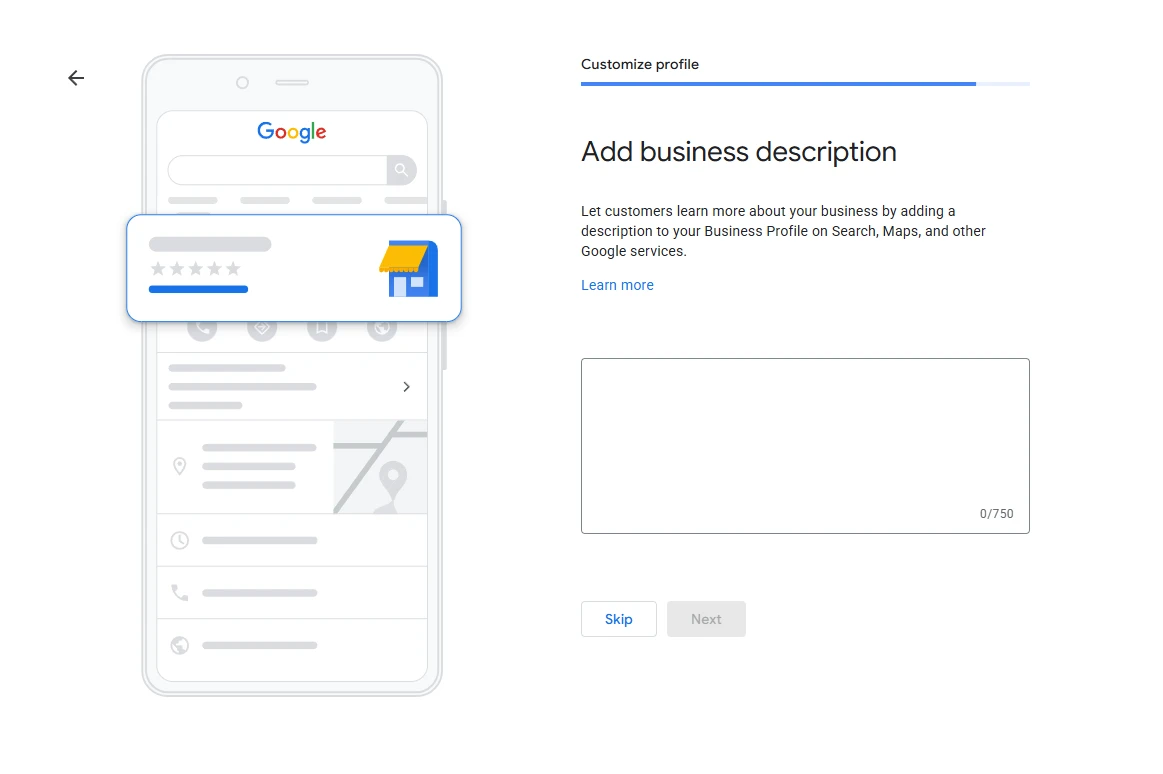
Step 9: Write your business description
Add a description of your business (up to 750 characters). This appears on Google Search and Maps.
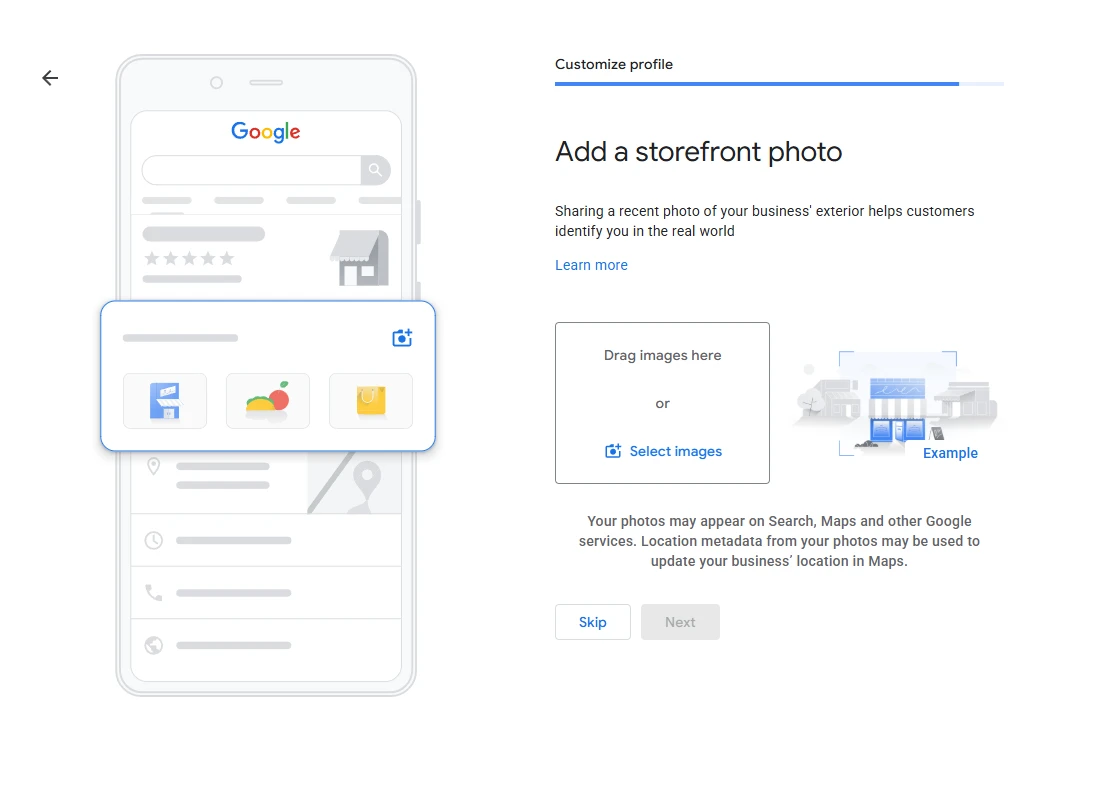
Step 10: Add a storefront photo
Upload a clear photo of your business exterior. This helps customers recognise your location.
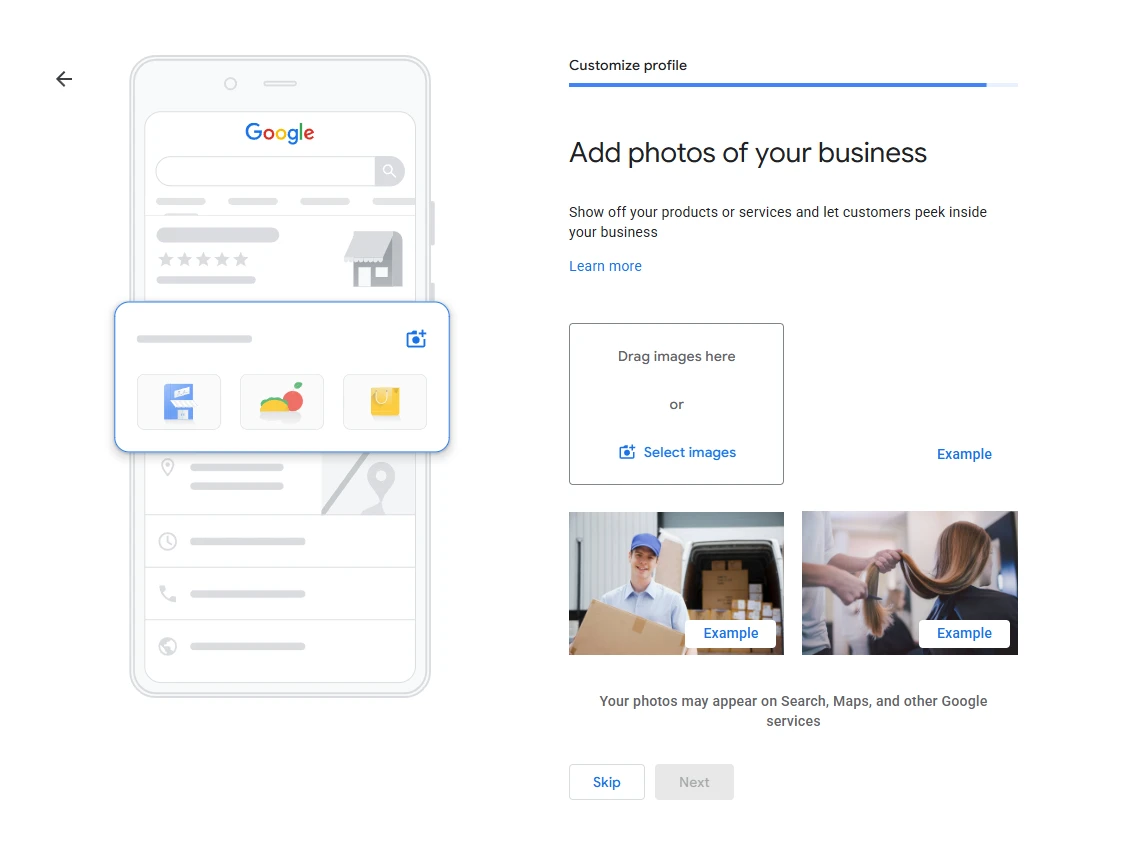
Step 11: Add more photos of your business
Upload additional photos showing your products, services, team, or interior.
Step 12: Add service areas (optional)
If applicable, enter the areas where you provide services or deliveries.
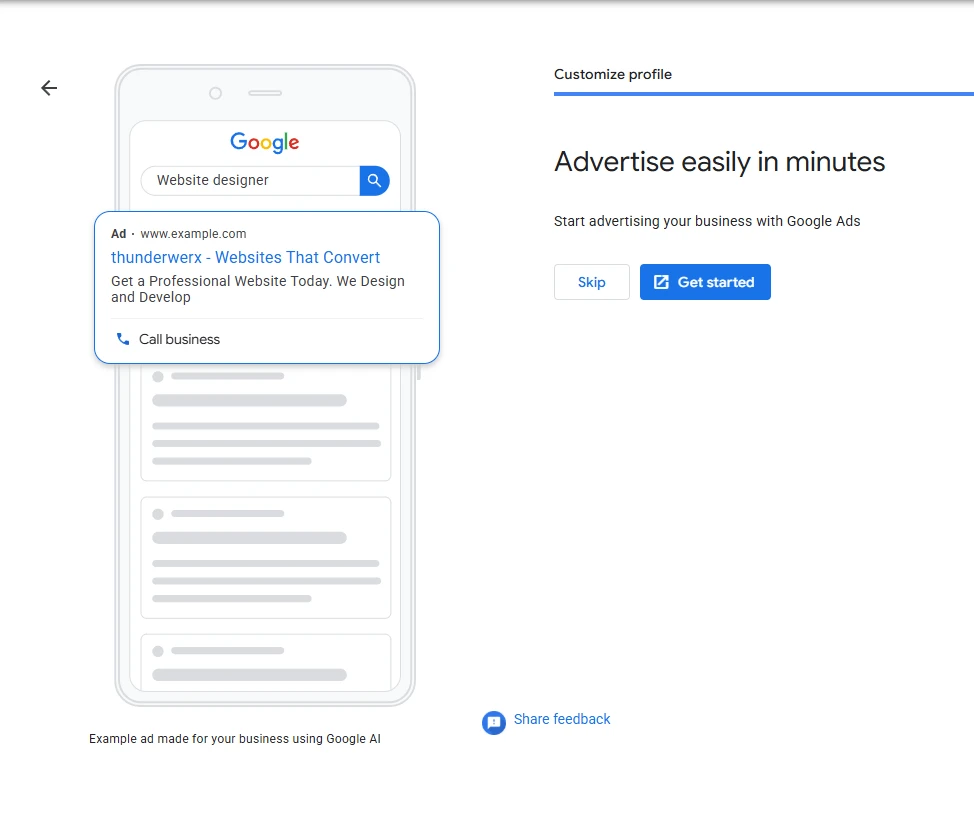
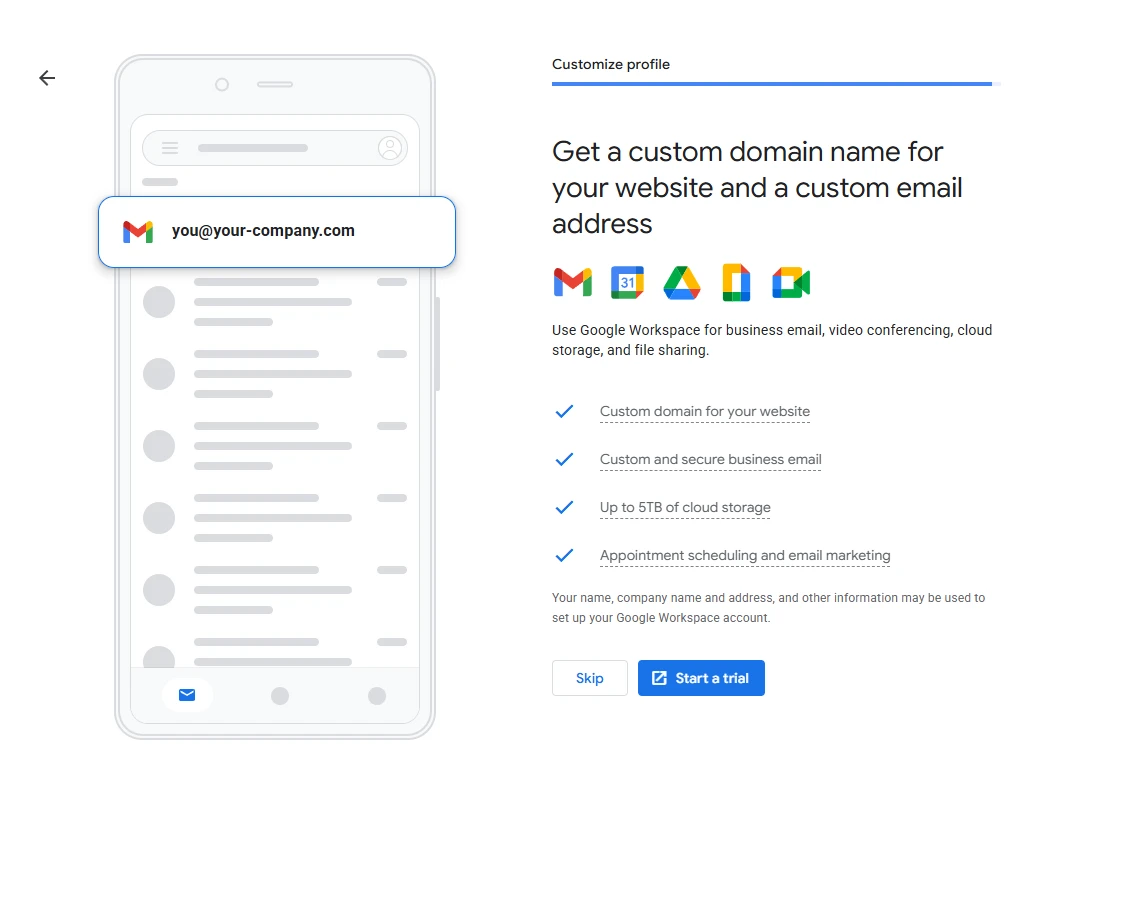
Step 13: Review optional prompts
You may see options such as advertising with Google Ads or setting up Google Workspace. You can skip these if you’re not ready.
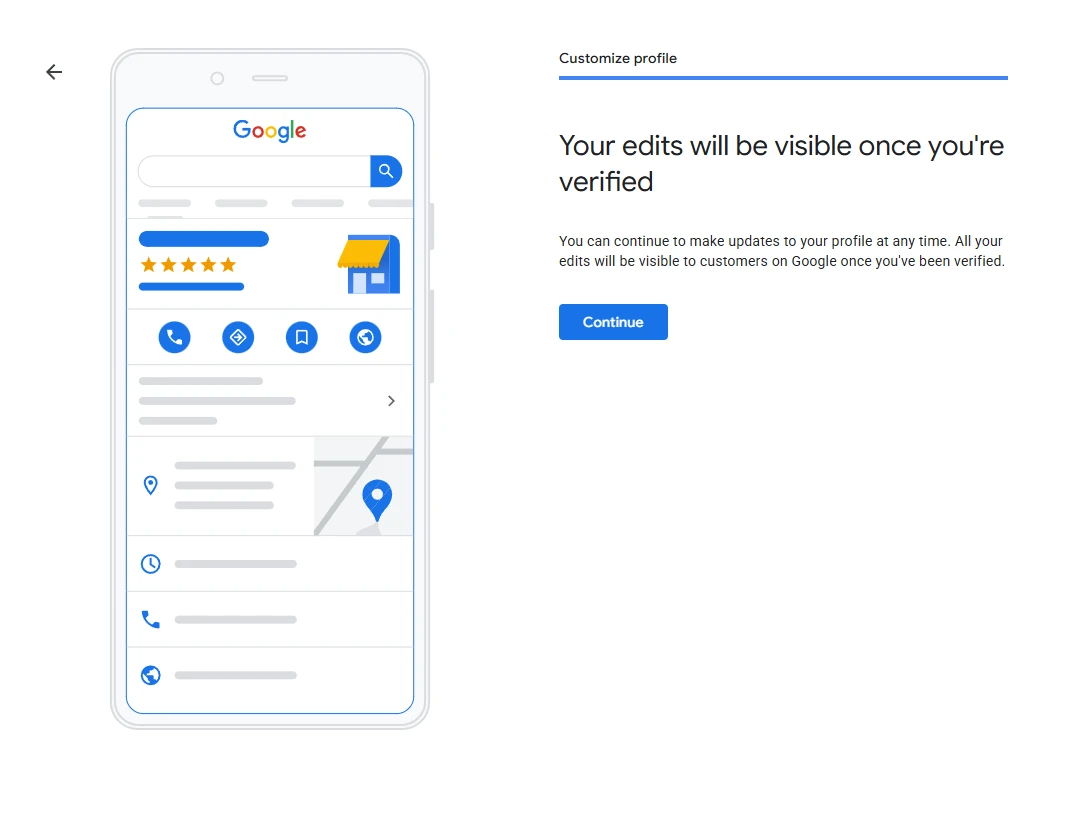
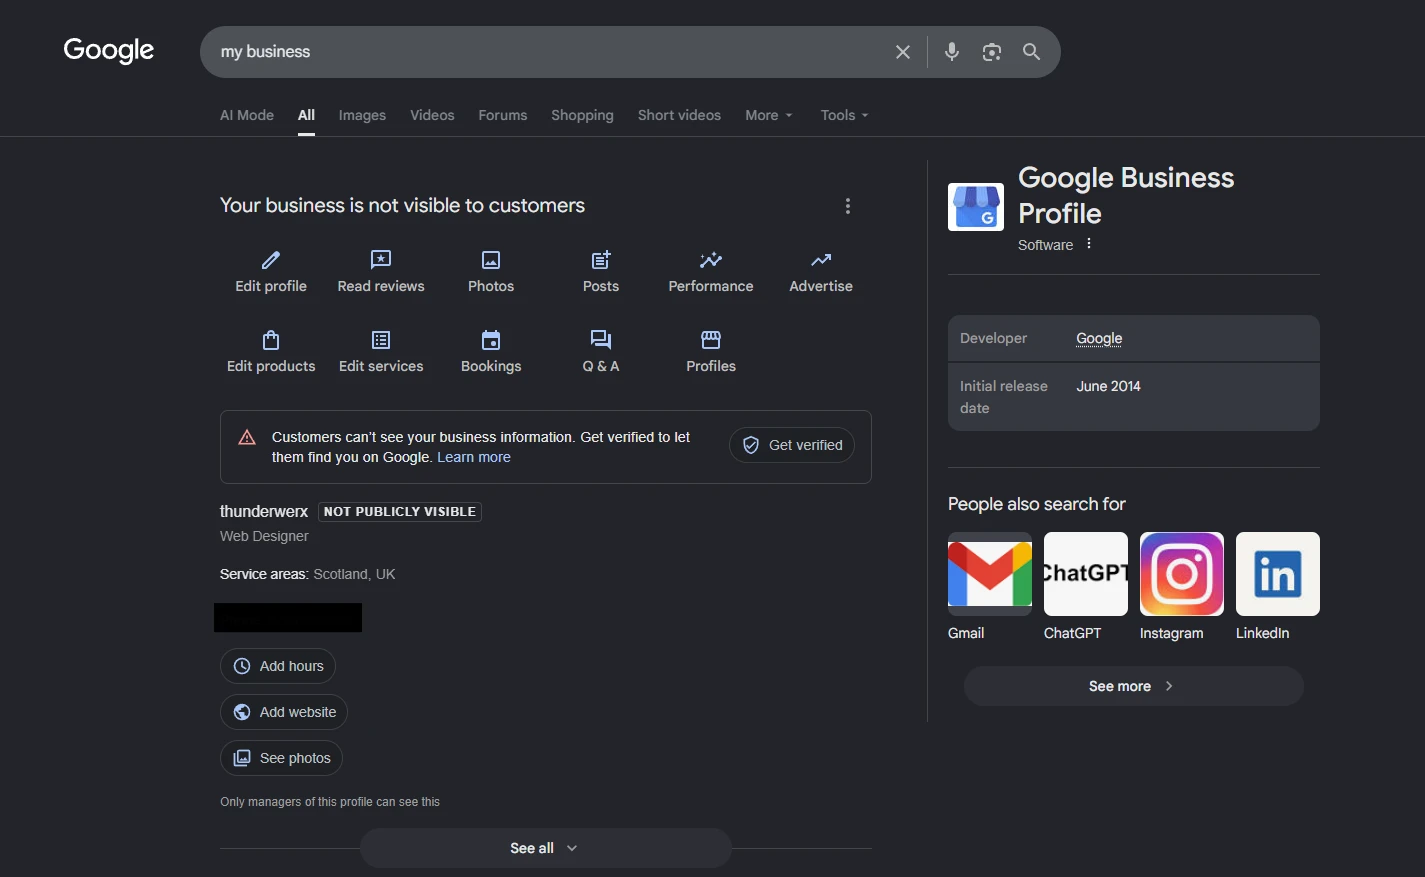
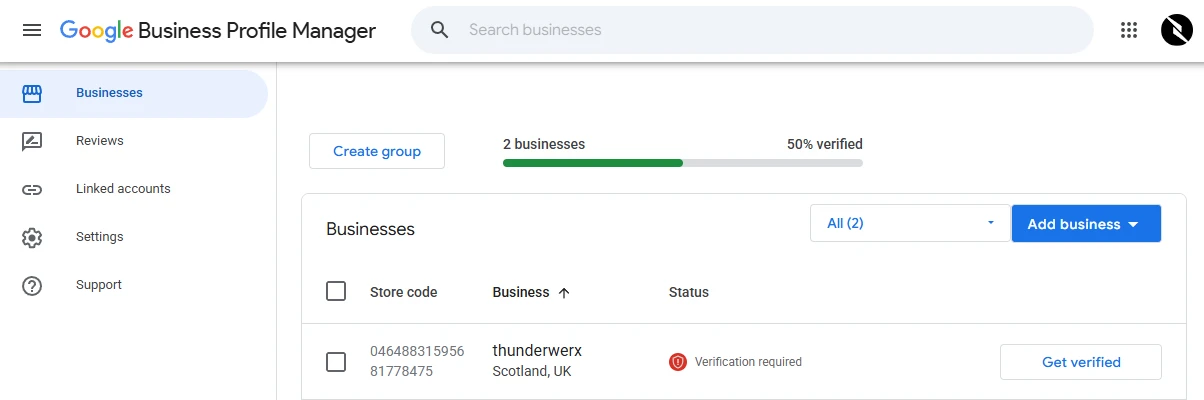
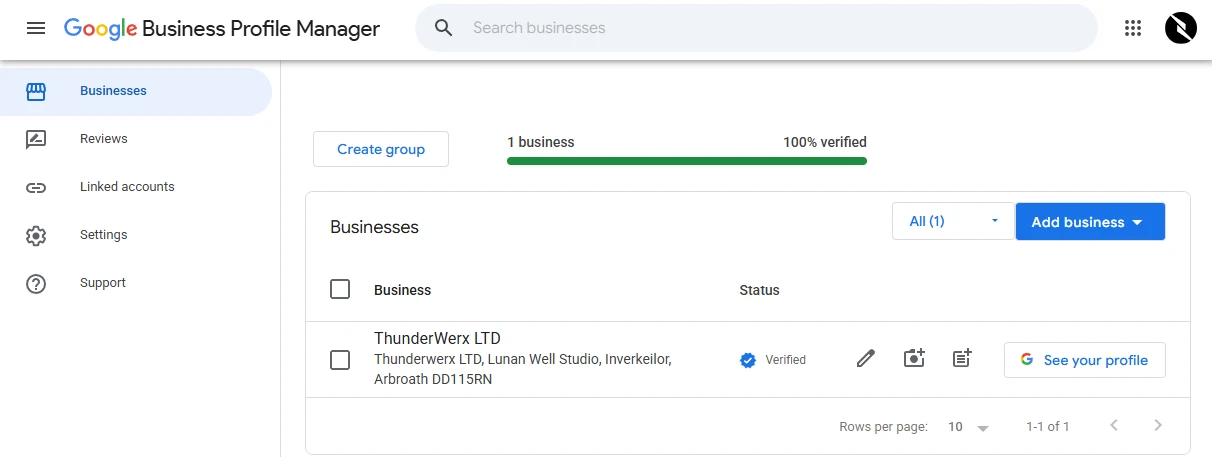
Step 14: Complete verification
Once you receive and enter the verification code (or complete another verification method), your profile will be verified.
Next Steps
Once your profile is fully set up and verified, the key to success is staying active with fresh photos, regular posts, and consistent review management.
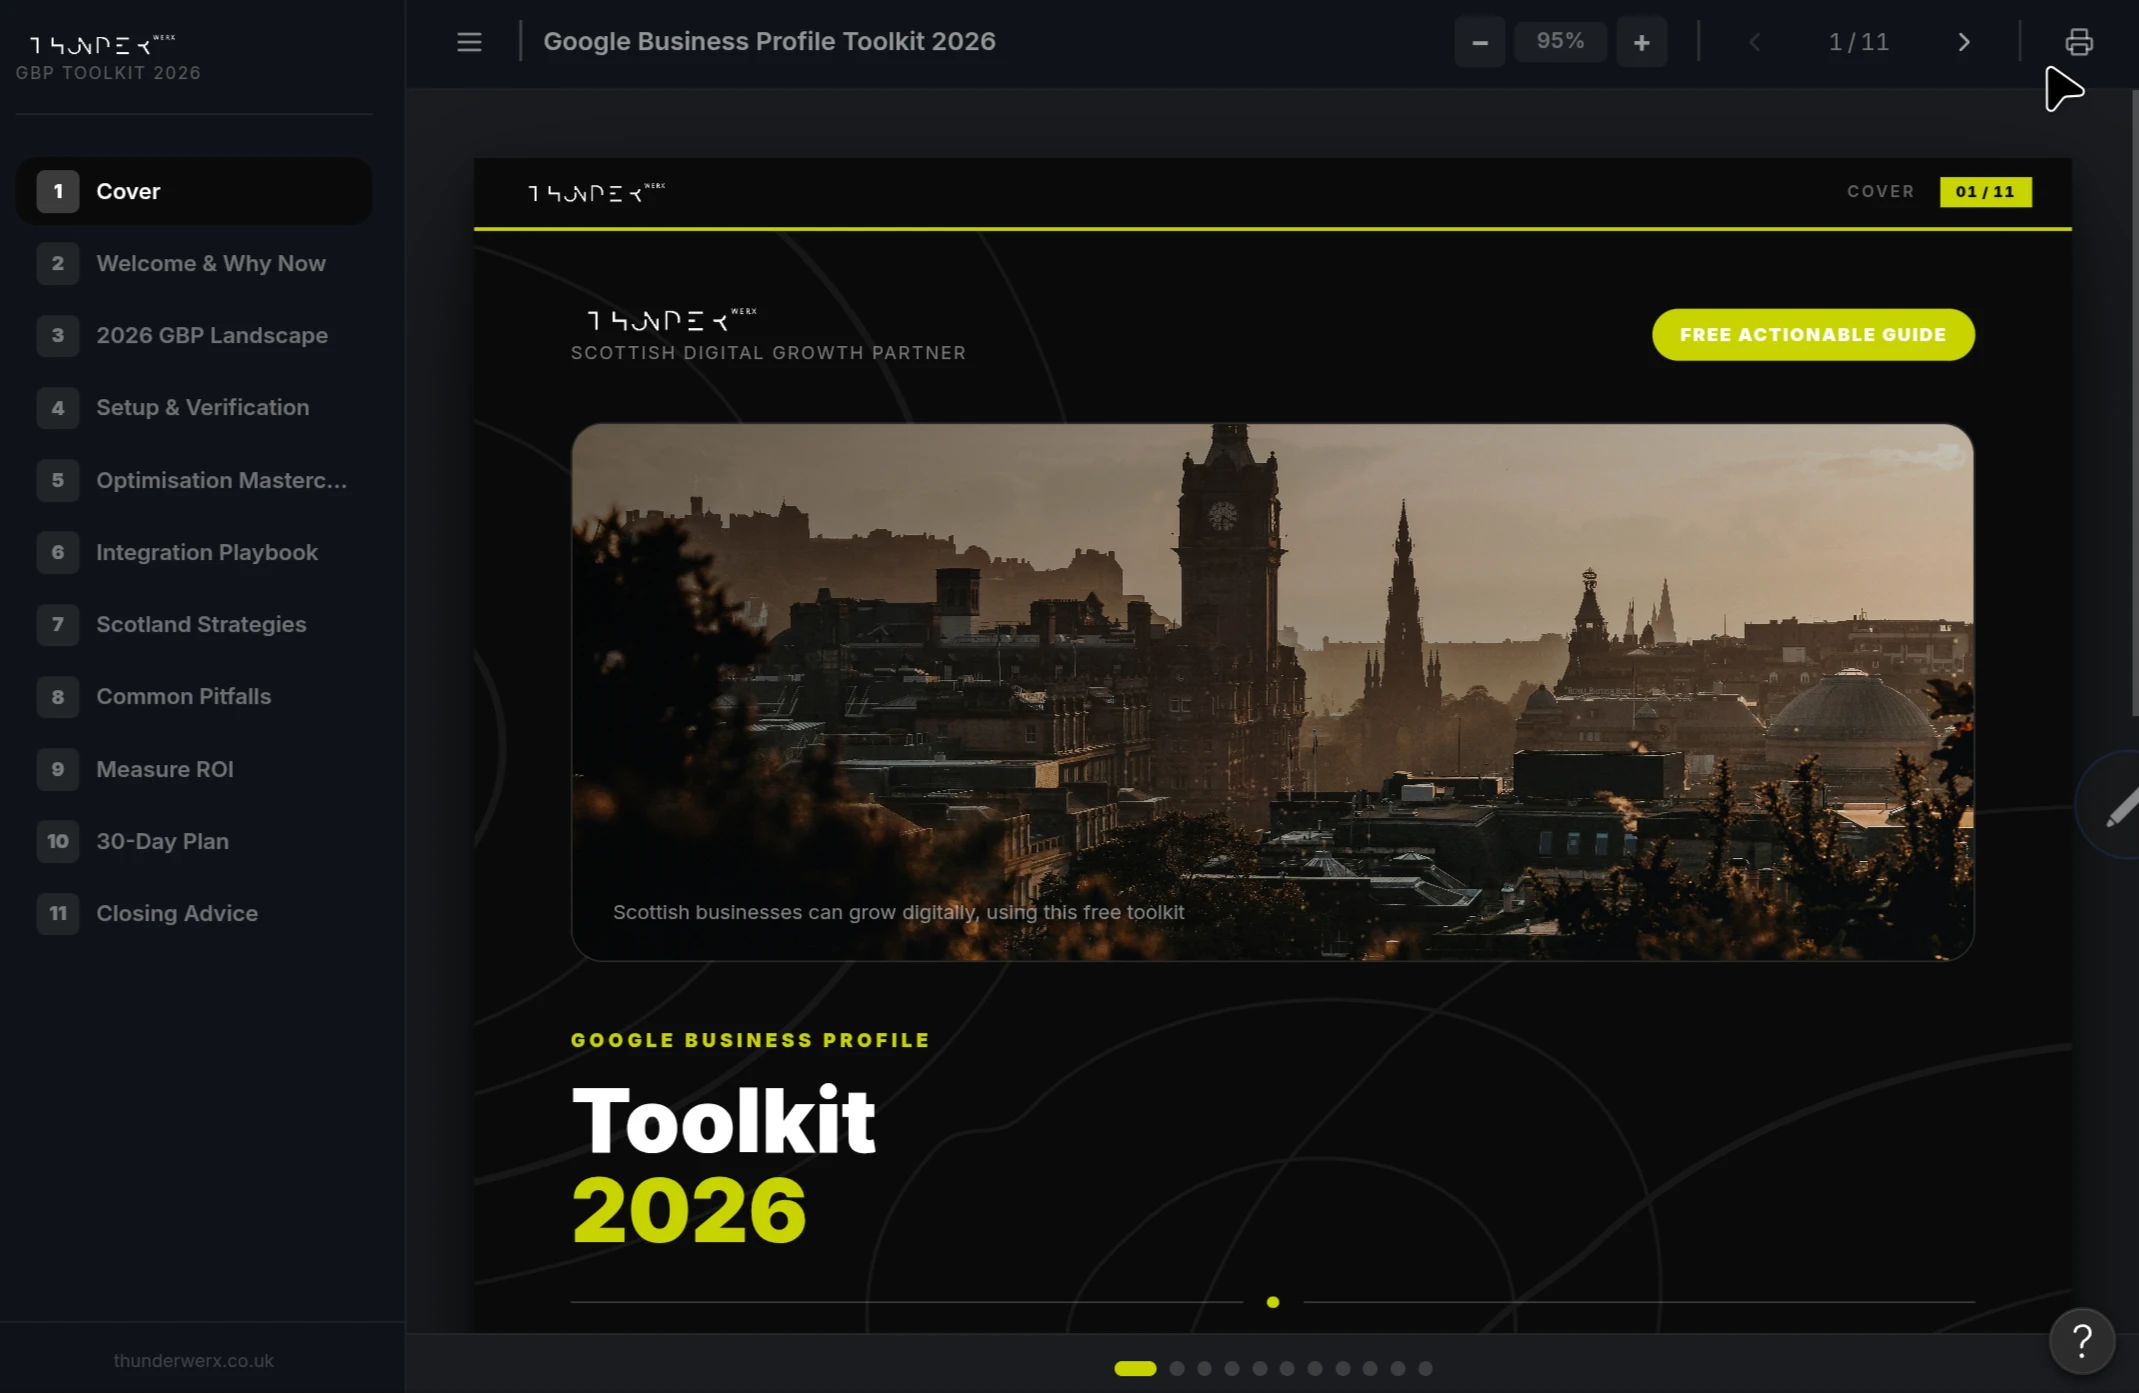
For a more detailed interactive version with checklists and a 30-day plan, check out the free toolkit here: https://gbp-toolkit-thunderwerx.figma.site/
Related Posts
Guides | 003: Free Digital Growth Toolkit
Your Google Business Profile is now one of the highest-leverage, lowest-cost tools available to UK businesses and organisations, particularly Scotland, where in many cases a Business profile isn't yet established. In the AI era it feeds discovery, trust, and direct actions. The results compound.